使用Vscode调试Linux内核

上一篇博客我们在虚拟机中编译了Linux内核,并且使用Qemu和gdb进行调试,但是gdb的指令我还不熟练,还是想用vscode来调试,这样也更加方便

Vscode插件安装

remote-ssh

image-20231120124509960

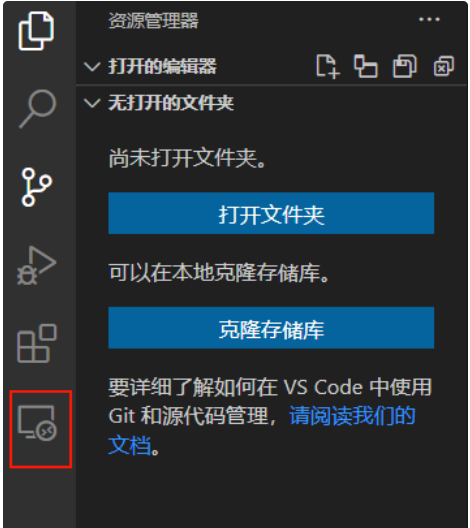
安装完成后右边工具栏会多出一个功能

image-20231120124653194

按F1呼出对话框,输入remote-ssh,选择open ssh configuration file。

image-20231120124748850

选择第一个配置文件

image-20231120124824202

1
2
3
Host 自定义连接名称
HostName 服务器IP地址
User 用户名

C/C++

安装C/C++插件

image-20231120125110014

依次点击【运行】->【打开配置】,将以下配置复制到launch.json中。

该代码不需要更改,直接粘贴

1
2
3
4
5
6
7
8
9
10
11
12
13
14
15
16
17
18
19
20
21
22
23
24
{
// 使用 IntelliSense 了解相关属性。
// 悬停以查看现有属性的描述。
// 欲了解更多信息,请访问: https://go.microsoft.com/fwlink/?linkid=830387
"version": "0.2.0",
"configurations": [
{
"name": "kernel-debug", //随便起名
"type": "cppdbg",
"request": "launch",
"miDebuggerServerAddress": "127.0.0.1:1234", //远端调试地址,1234为qemu的监视端口
"program": "${workspaceFolder}/vmlinux", //当前目录下的vmlinux
"args": [],
"stopAtEntry": false,
"cwd": "${workspaceFolder}",
"environment": [],
"externalConsole": false,
"logging": {
"engineLogging": false
},
"MIMode": "gdb",
}
]
}

Vscode调试

在虚拟机中启动qemu

Linux内核文件夹下运行此命令

1
qemu-system-x86_64 -kernel ./arch/x86/boot/bzImage -initrd ../initramfs.cpio.gz -append "nokaslr console=ttyS0" -s -S -nographic

打断点

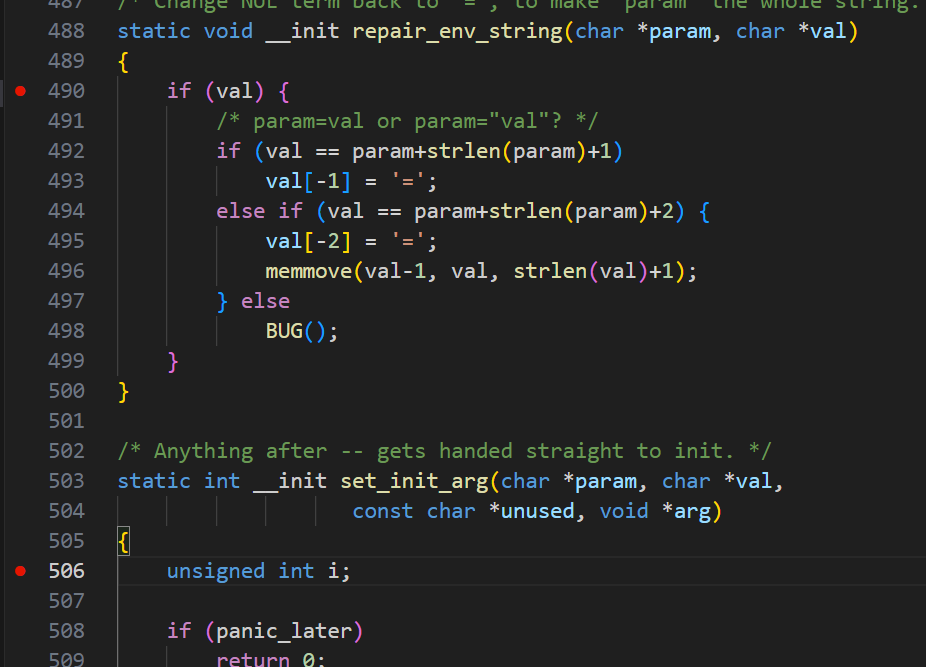
打开init/main.c,我打了如下的断点

image-20231120130037370

调试

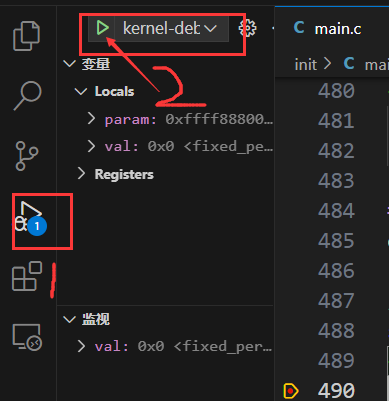
image-20231120130522009

然后在vscode中就可以看到调试结果了

代码中标红的问题

代码标红是缺少compile_commands.json文件

我在B站上学习的时候,是跟着这位up主来的(源码被猫吃了),他的解决方案如下:

在终端键入命令

1
./scripts/clang-tools/gen_compile_commands.py

在源码目录下就生成了compile_commands.json文件

在vscode中:ctrl+shipt+p选择C/C++:Edit Coonfigurations,

在c_cpp_properties.json

1
2
3
4
5
6
7
8
9
10
11
12
13
14
15
16
17
{
"configurations": [
{
"name": "Linux",
"includePath": [
"${workspaceFolder}/**"
],
"defines": [],
"compilerPath": "/usr/bin/gcc",
"cStandard": "c17",
"cppStandard": "gnu++17",
"intelliSenseMode": "linux-gcc-x64",
"compileCommands": "${workspaceFolder}/compile_commands.json"
}
],
"version": 4
}

此后,main.c中的代码就不标红了